|
Two questions:
-
What to photograph?
-
And how to do
it?
I can't help with
the first one, because that depends on the actual situation. But I
can give advice on the second one.
In my opinion, the focal length is the most important mean for composing the picture. At around 50 - 100mm focal length (normal up
to moderate tele), the proportions of the framed subject appear
natural, just as we see them through our own eyes.
So
this is a perfect focal length to take pictures for a quick overview
from above (like presenting a chassis etc.)
If your camera does
not provide a focal length scale, then zoom until it displays
something like 2x - 3x or the slider is midway between wide and tele.
|
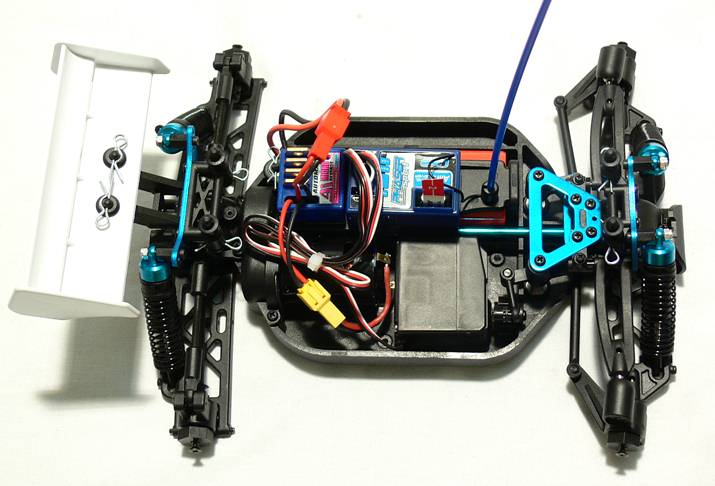
LRP
Shark 18 Chassis (50mm focal length, full frame equiv.)
|
At the wide end of
your camera's zoom lens, it's field of view gets bigger, hence
subjects appear smaller in the frame and you have to get closer to
get a picture at reasonable size.
Doing so will also introduce some perspective distortion that will
make the subject appear bigger, larger and more "impressive" than it
really is. Great for expressing details!
|
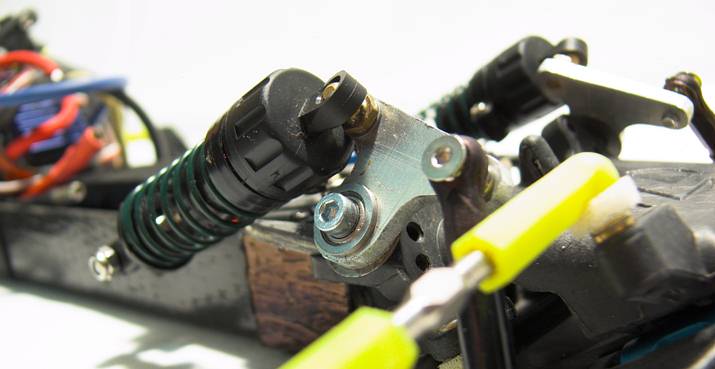
moderate wide angle (35mm focal length, fullframe equiv.):
perspective distortions around rocker arm and damper
|
At the same time, most cameras have their minimum focus distance at
the wide angle. With the optional macro-mode, this focus distance is
further decreased, sometimes to as close as 1cm.
This is useful for creating a small depth of field which fixed lens
compact cameras usually lack due to their small sensors.
Blurring the back-
and foreground is another way to make small details
prominent.
|
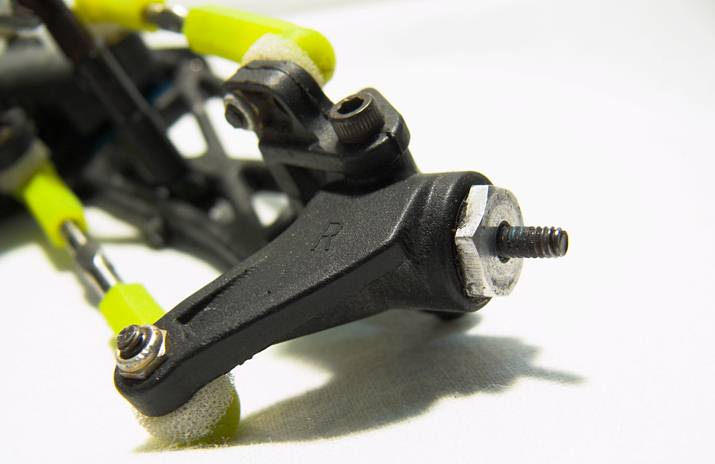
Seperating the subject
from the background with a small depth of field at f/2.8
(35mm focal length fullframe equiv. ca. 10cm distance)
|
|
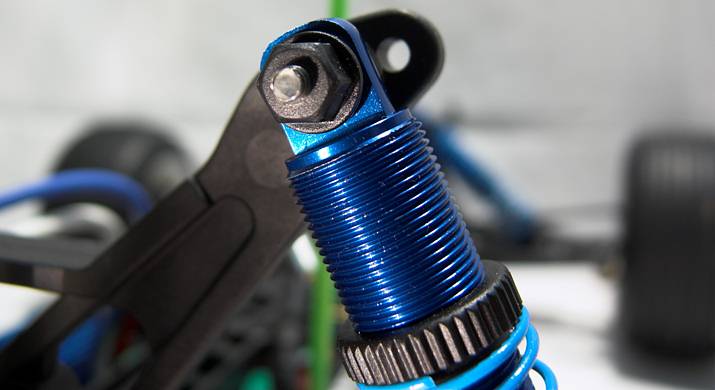
Very
small depth of field at close distance: the shocktower
is out of focus
(35mm focal length, aperture f/2.8, ca. 5cm distance)
|
Should you want a
larger depth of field, you have to close the aperture (choose a
higher f-number). Be aware though, that this also lowers your
shutter speed and hand held shots may become difficult to take
without visible camera shake. Higher ISOs to compensate for the small aperture should only be an option in case you don't need a
50-100% crop of your picture, since sensor noise will become an
issue at higher sensitivities.
Seperating subject and background via depth of field can become a
difficult task on compact cameras, since you have no means to
preview the DOF. Rather, you have to get the feeling for it, since
DOF depends on three factors:
-
aperture (smaller f-number
gives smaller DOF),
-
focal length (higher focal
length gives smaller DOF) and
-
subject distance (smaller
subject distance gives smaller DOF).
In case you're
unsure, do multiple exposures choosing a smaller aperture every
time.
Wide angle shots work best, if the camera is only a few centimetres
above or below the subject – „from face to face“,
so... on your knees!
Some tips for
studio photography to close this chapter:
-
The correct exposure:
The shiny white background irritates your camera so that it
underexposes on your subject, if it's set to "average" or "center
weighted" (usually default) metering. Better use spot metering
on the subejct itself or set the exposure manually!
-
For post processing,
it's not overly important for the background to remain white. It's
just important, that it's of a homogene colour and seperates
itself well from the subject, which can then be cut out with
basic photo editing tools.
-
When photographing single,
small objects (shocks,
diffs, ...) make sure, that their full shadow is within the
frame. Cut shadows don't look natural neither especially good.
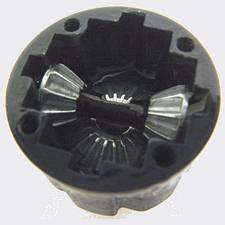
Exception from the rule: Should you decide to completely cut the
subject from it's background and paste it into a new one, it's
sometimes possible to leave the shadows out, example:
Continue part 3:
Outdoor and action photography
Back to part 1:
A brief introduction to digital
photography
Special:
Offroad-Action Photo-Thread (DSLR)
Text, pictures and translation by
Aaron Banovics
This article was published on
www.offroad-cult.org
om 3-6-2007
|